Plain Shoeskit
What is in the kit
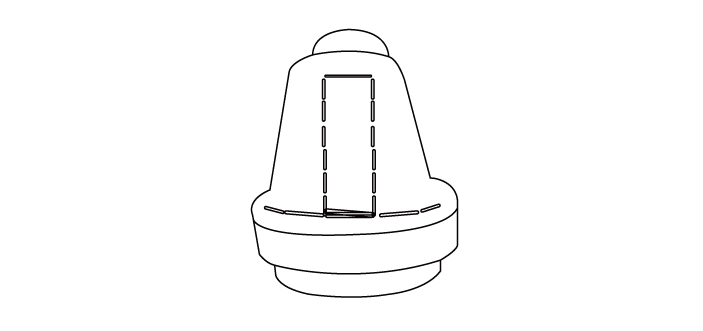
- Outsoles
- Insoles
- Instruction
- Patterns
- Thread
- Materials
If you want to prepare the materials by your selfSoles kitPlease check
Step1
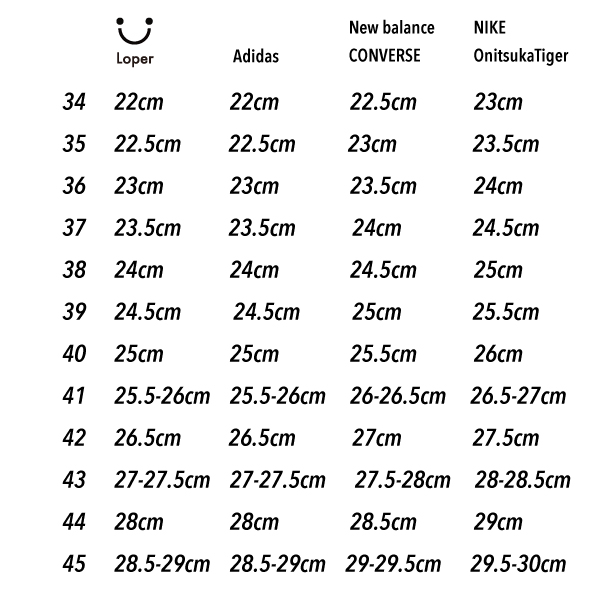
Choose the size
The size may vary slightly depending on the brand and model. Please refer to the table below and compare it with the size of the shoes you usually wear.
Step2
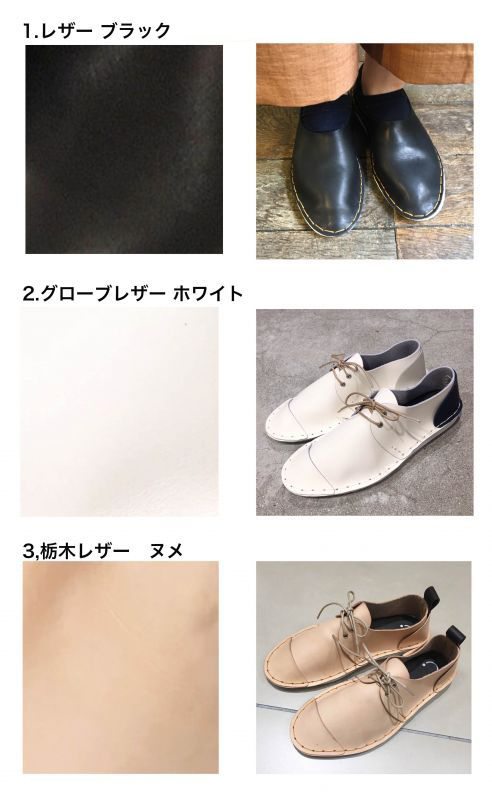
Select the main material. It is about 330cm x 620cm.
Black leather oil Dakota [lead and phthalic acid free]
Combination tanned almighty leather that boasts outstanding stability.
The amount of chrome is suppressed, and tannins are probably included in the dyeing stage to give a moderate elasticity.
The more you wear it, the more it will become familiar to your feet.
Glove Leather
It is a material developed as leather for making baseball gloves. The raw leather uses the finest steyr from North America. Glove tanning is performed for the purpose of not breaking the fibers, and it is lighter than conventional glove leather, wrinkle-resistant, and the original flexibility and moist texture of leather is perfect for making shoes.
Tochigi Leather Nude
Nume leather from Tochigi Leather Co., Ltd., which is said to be the highest peak in Japan, finished with almost no surface processing. It is supple and durable, and its tasteful changes over the years are highly evaluated not only in Japan but all over the world. Traditionally, Nume leather has the image of being a hard material that is difficult to commercialize. Therefore, Tochigi leather was created as Nume leather that has both softness and durability by a unique manufacturing method.。
Choose the color of thread

Cut out along the line with a cutter or scissors.
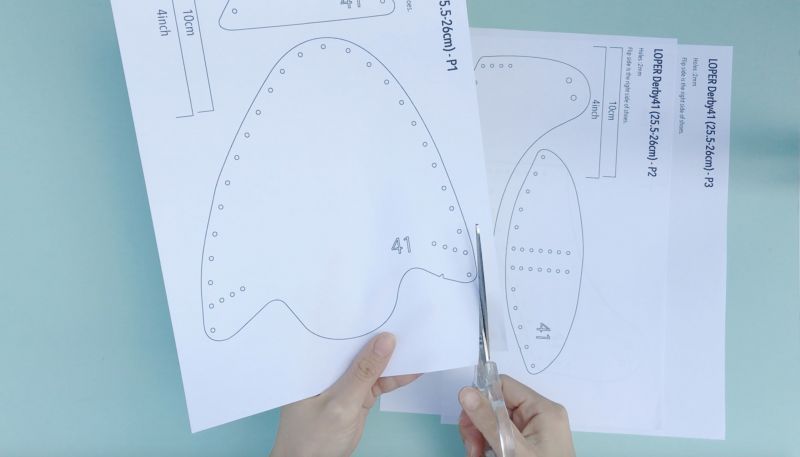
Step4
Let's make holes in the cut out pattern.
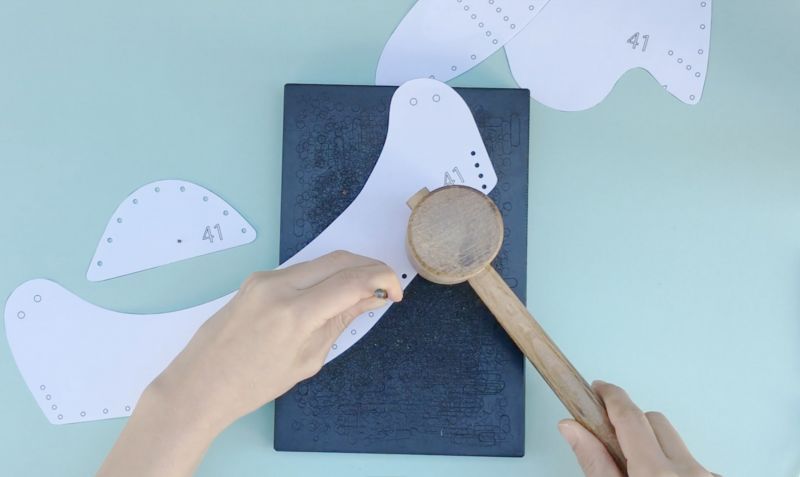
Step5
Trace the patterns on the material with a pen.
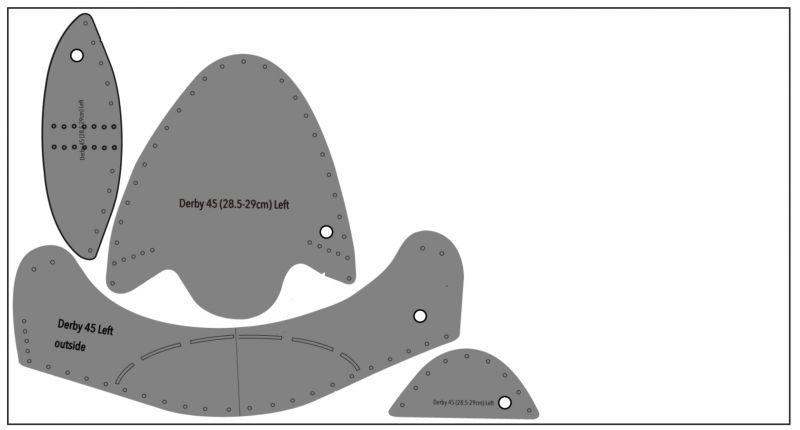
Step6
The printed side of the patterns are for the left shoe, flip the pattern to make the right shoe.
It's good to write on each patterns, 'right' or 'left' to prevent the mistake.
Step7
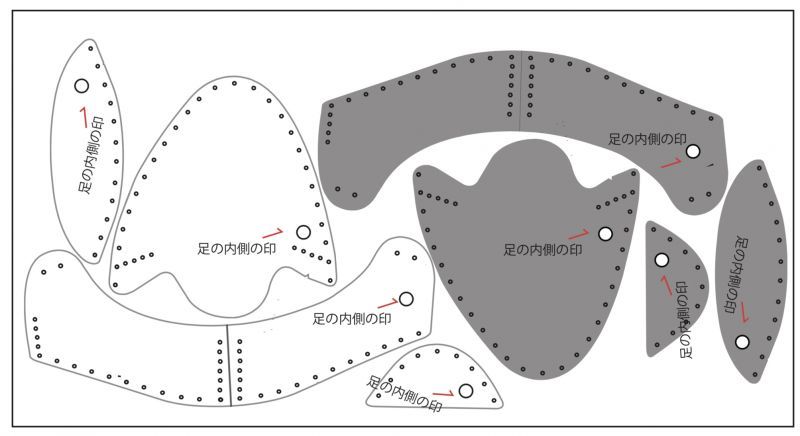
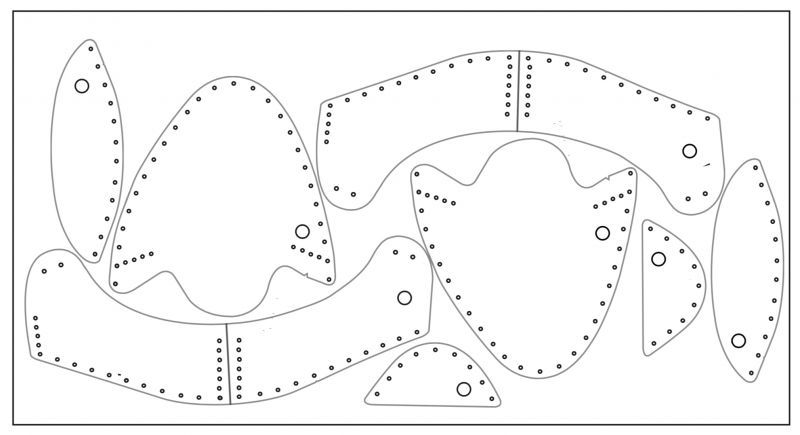
Cut out the materials along the trace line and punch the holes.
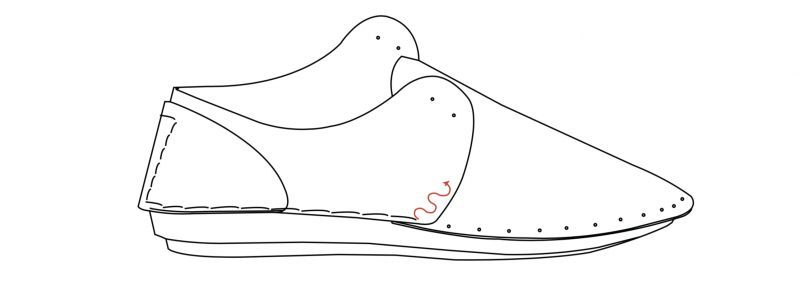
Step8
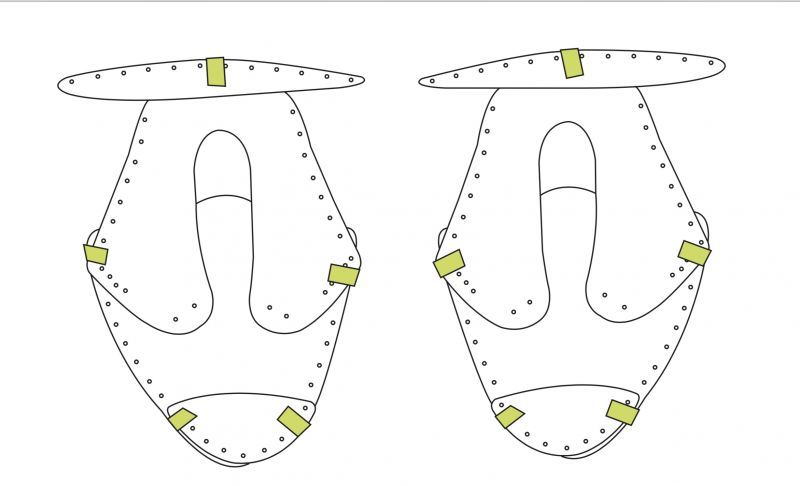
After cutting all the patterns, temporarily fix the left and right parts with masking tape at the correct positions.
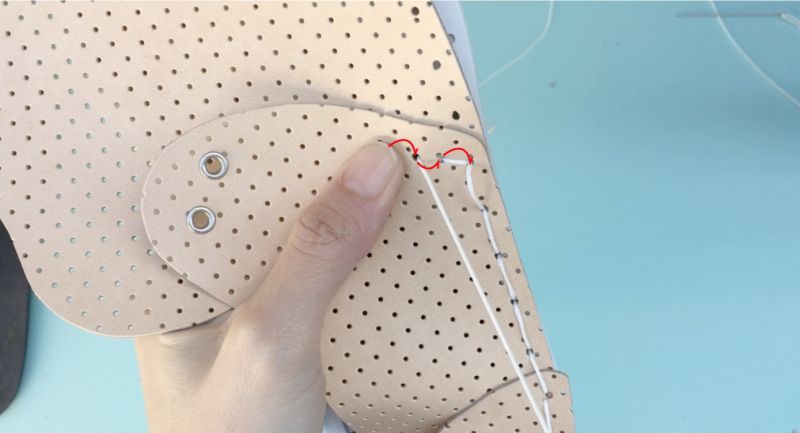
Step9
Pass the needle through both ends of the attached thread.
Insert a needle in position A and thread the threads until both threads are the same length.
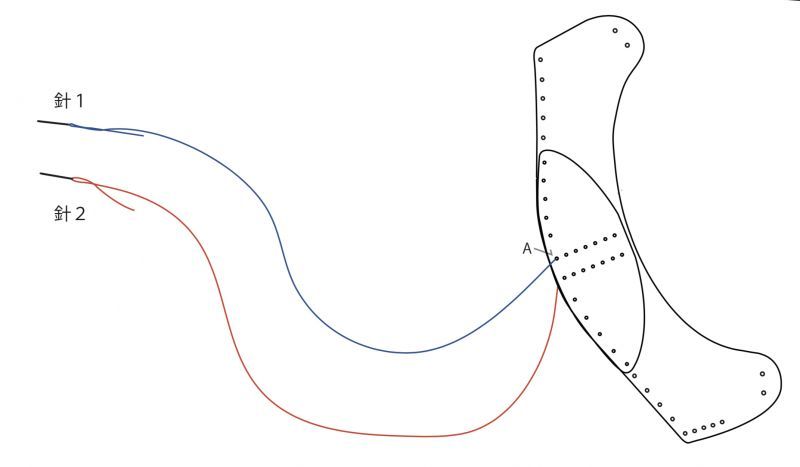
Sew to point D with needle 1.
After sewing needle 2 to point D, stab needle 1 into position D on the sole.
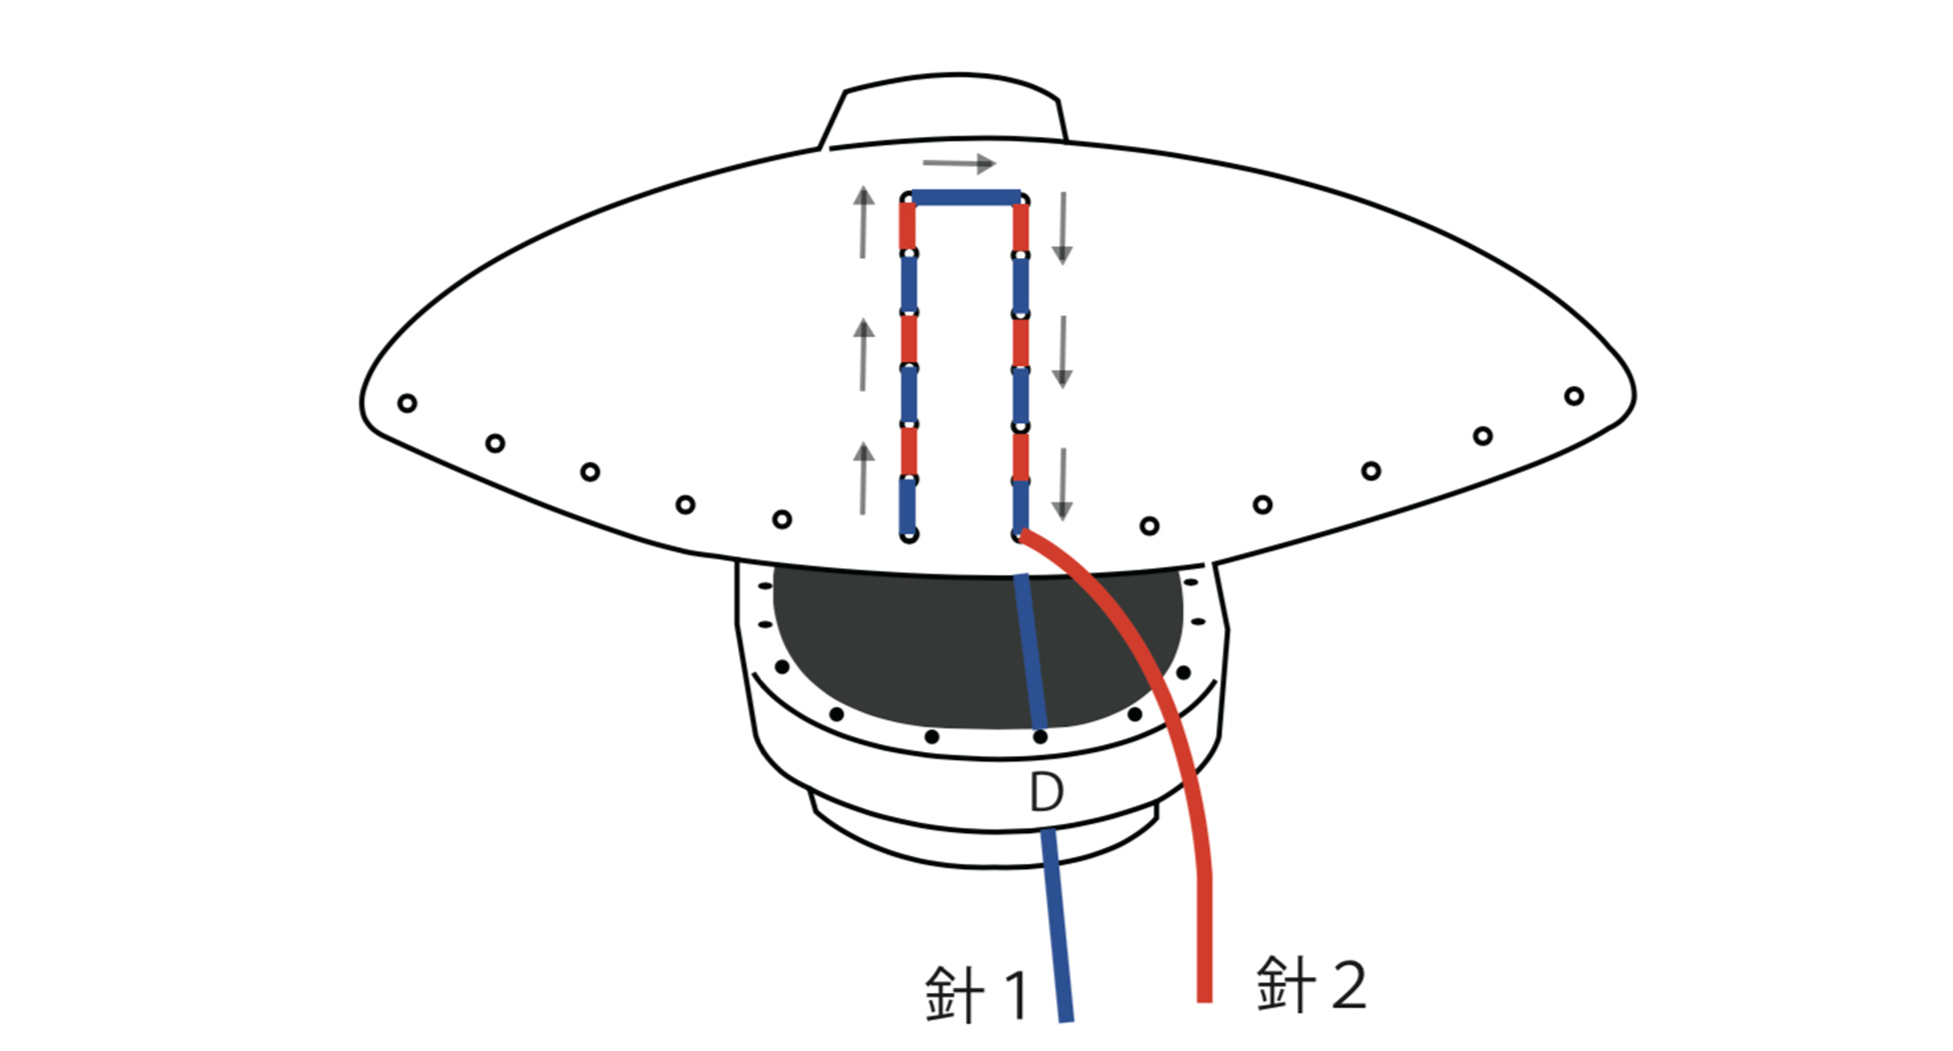
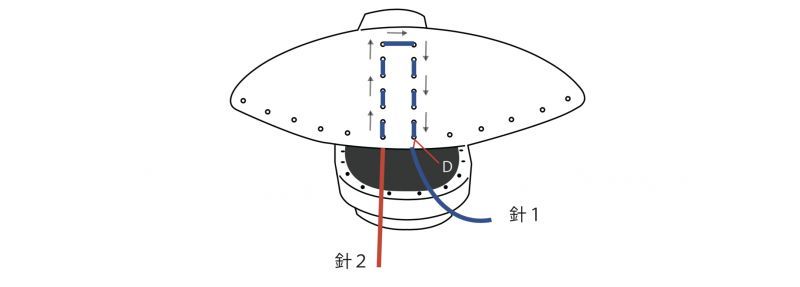
Step10
let's start sewing the uppers and soles together. Put the thread through the two needles. The upper and sole will be connected with a 'saddle stitch'.
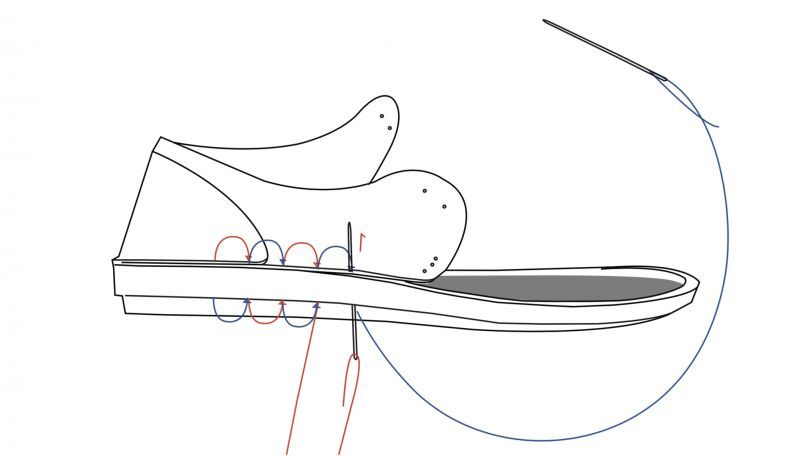
On the side stitch part, sew up and back down with one needle, like in the picture below.
For the finish, sew twice with both threads.
Put out the thread at the position shown in the picture. Cut the thread at about 5 mm.

Fire with a lighter the thread so that it cannot be unraveled.
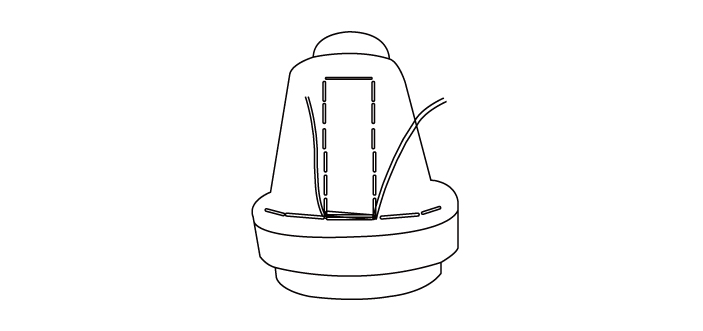
Put the insole and put the string through to complete!
Better DIY
Our dream for the near future is to develop kids size LOPER's so kids can make their own shoes too.
Shoe manufacturing often is a unhealthy and harmful industry, for workers and environment.
Stop buying shoes and start making them :)
It's fun to do and such a great feeling to walk on your selfmade shoes!
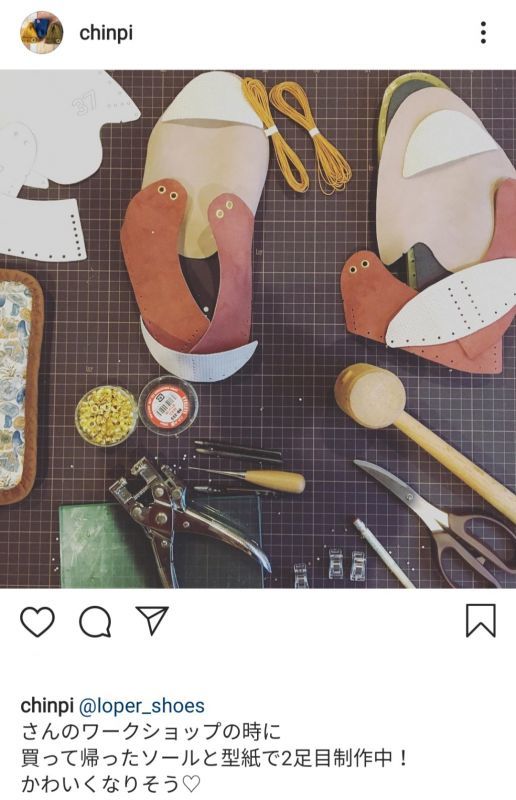
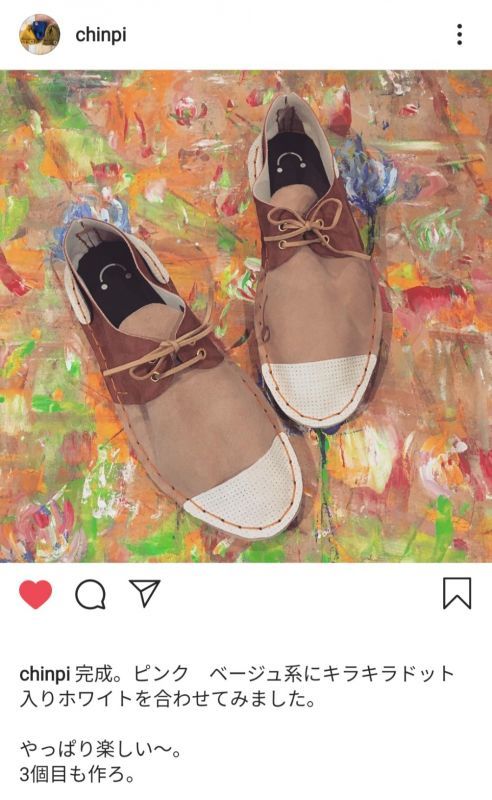
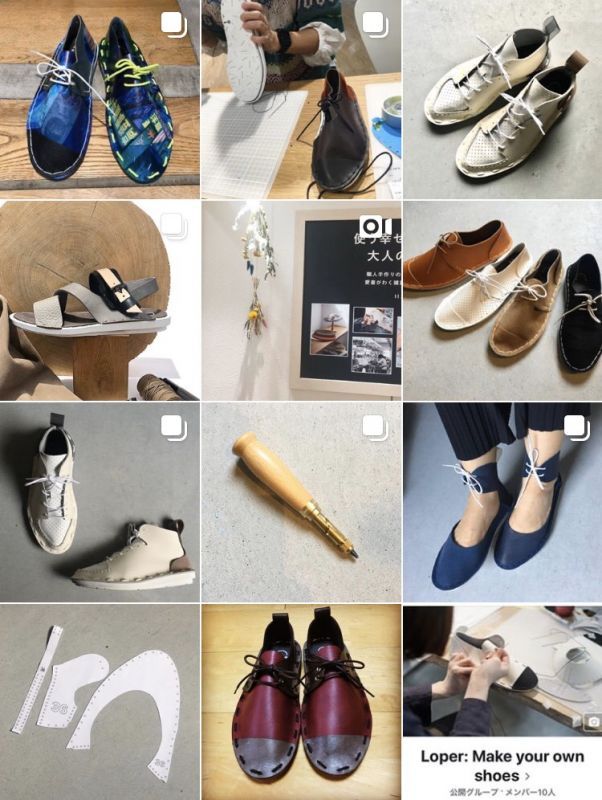
#lopershoes @loper_shoes Instagram is here
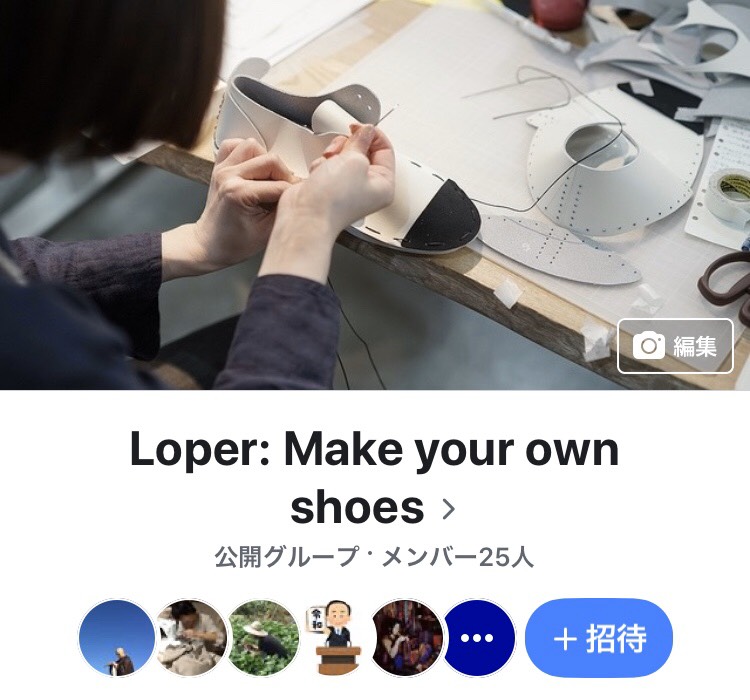
Facebook Loper group here!